
DIY Lattice Screen
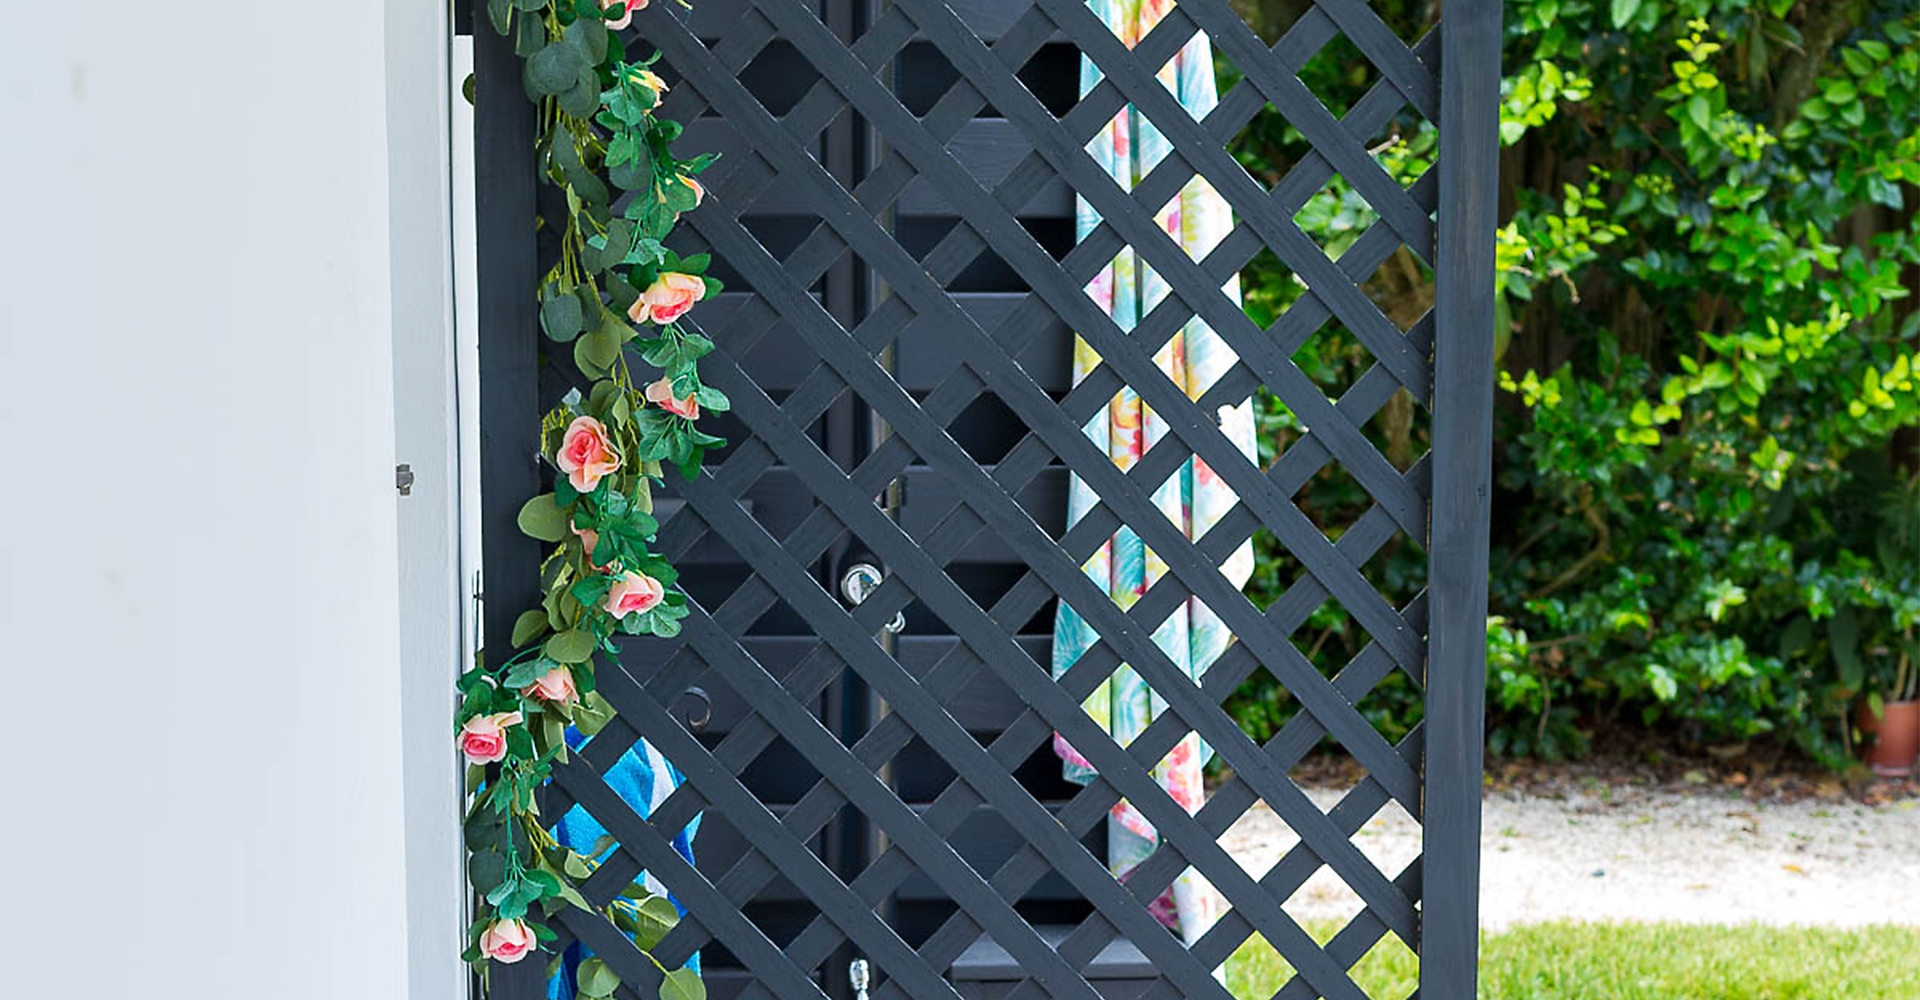
If you have something to hide outside your home then a lattice screen may be just what you need. This is a simple project and one that can easily be tailored to your exterior needs.
-
Difficulty:Beginner
-
Team:1
-
Time:2 to 4 Hours
Tools
-
Level
-
Pencil
-
Safety Goggles
-
Screw Drivers
-
Screws
-
Tape Measure


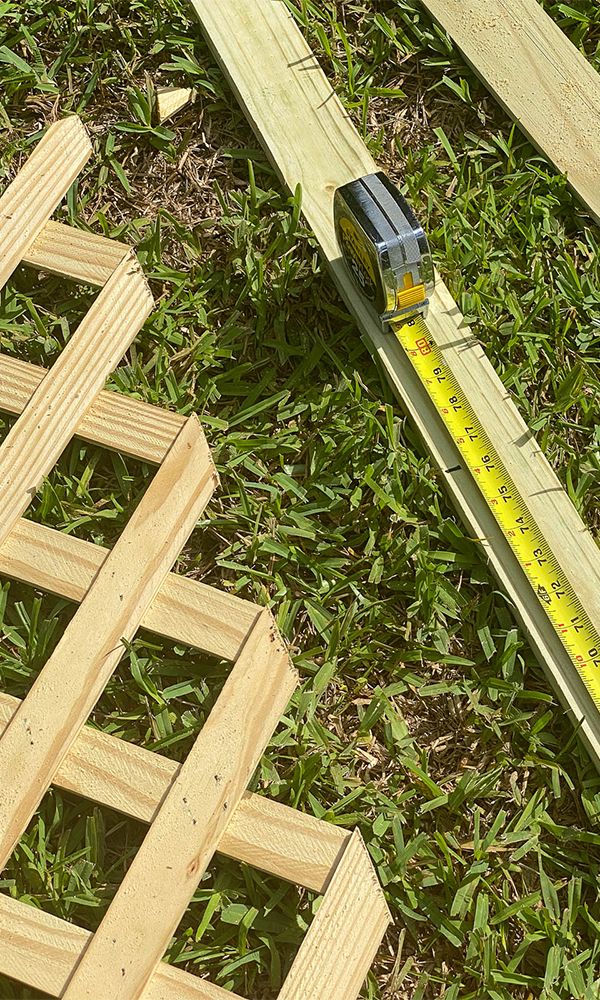
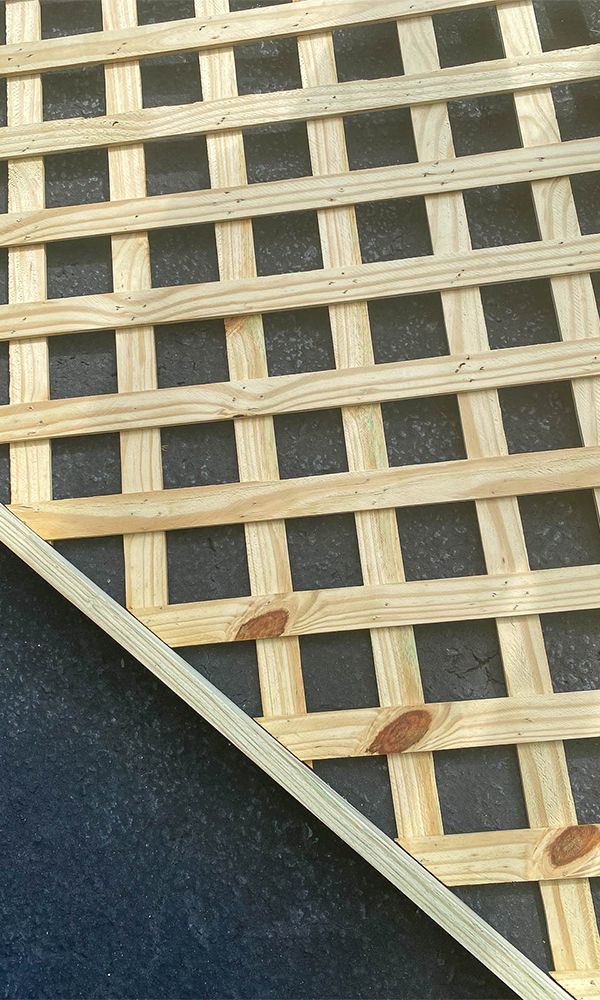
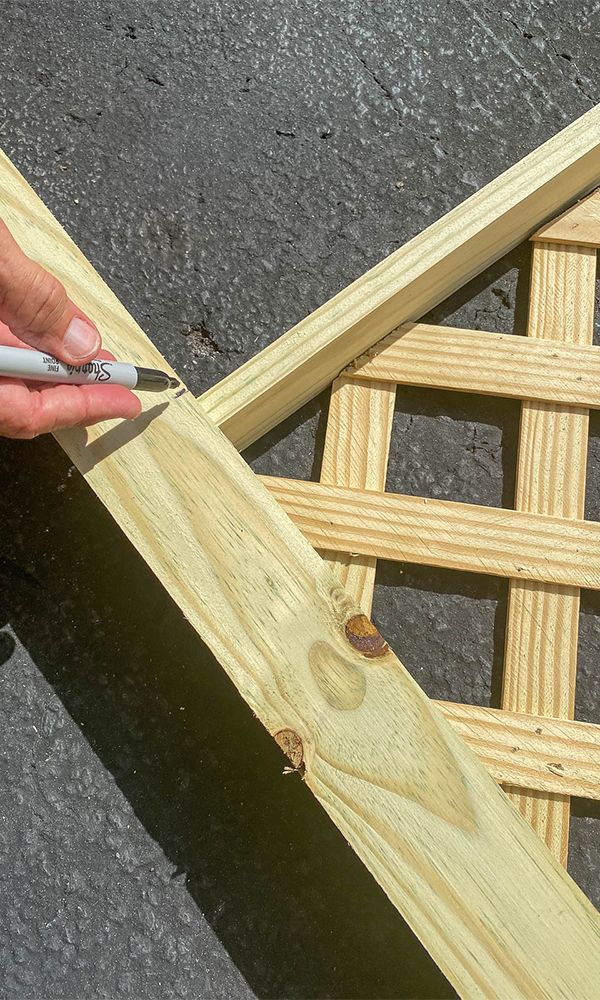
Measure

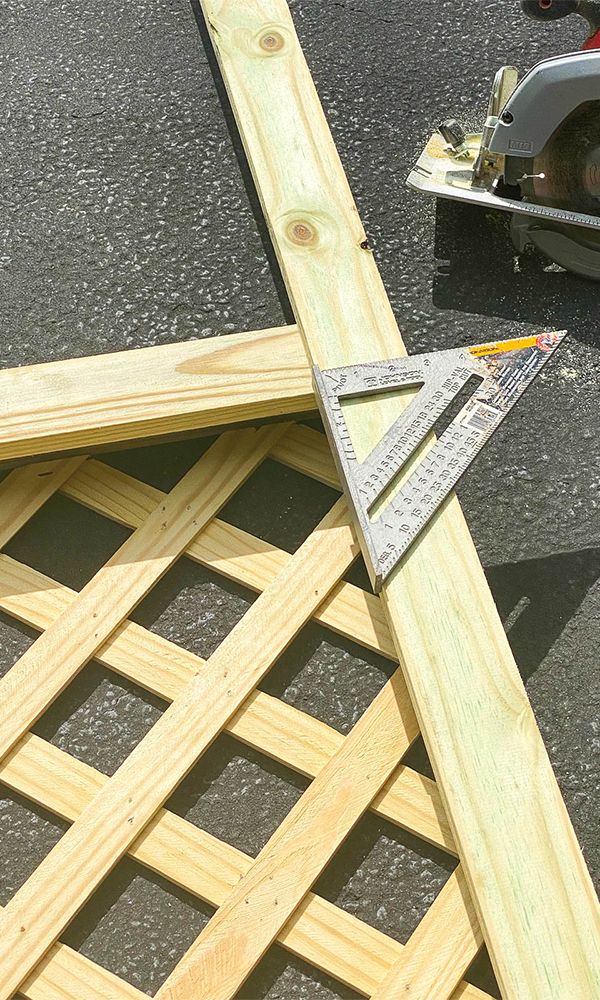
Cut
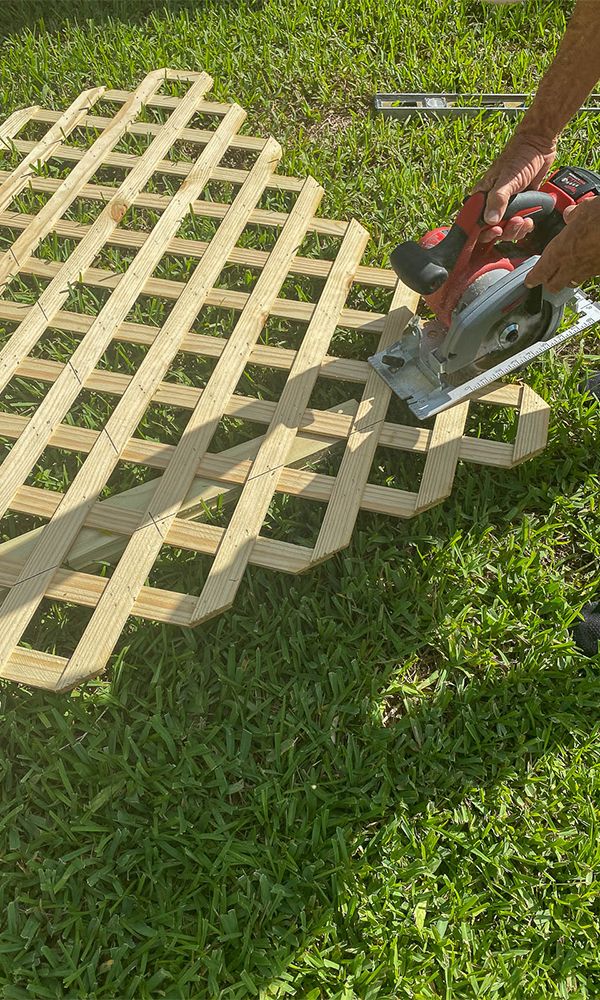
Cut
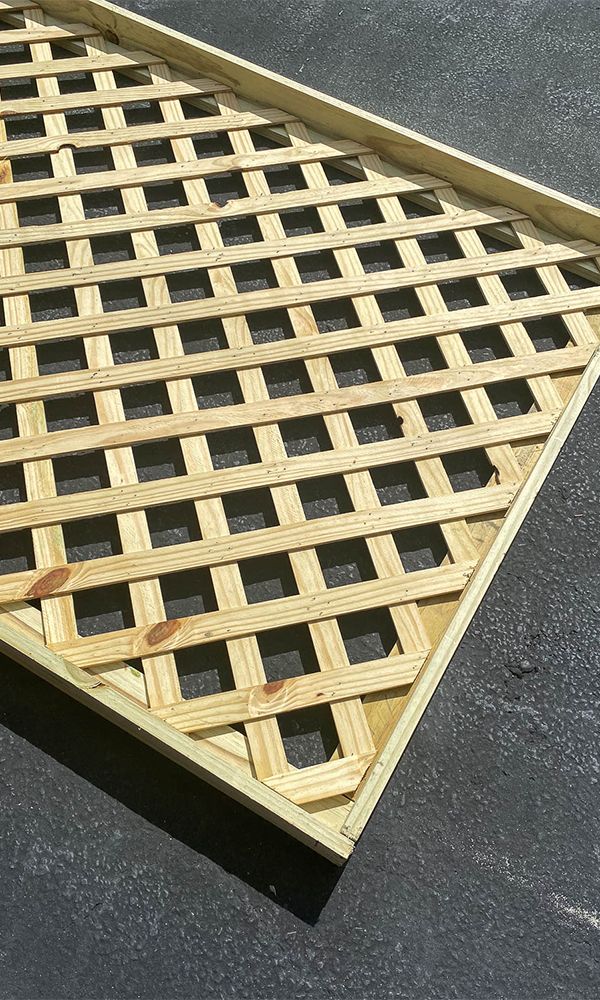
Assemble
Trim
Build
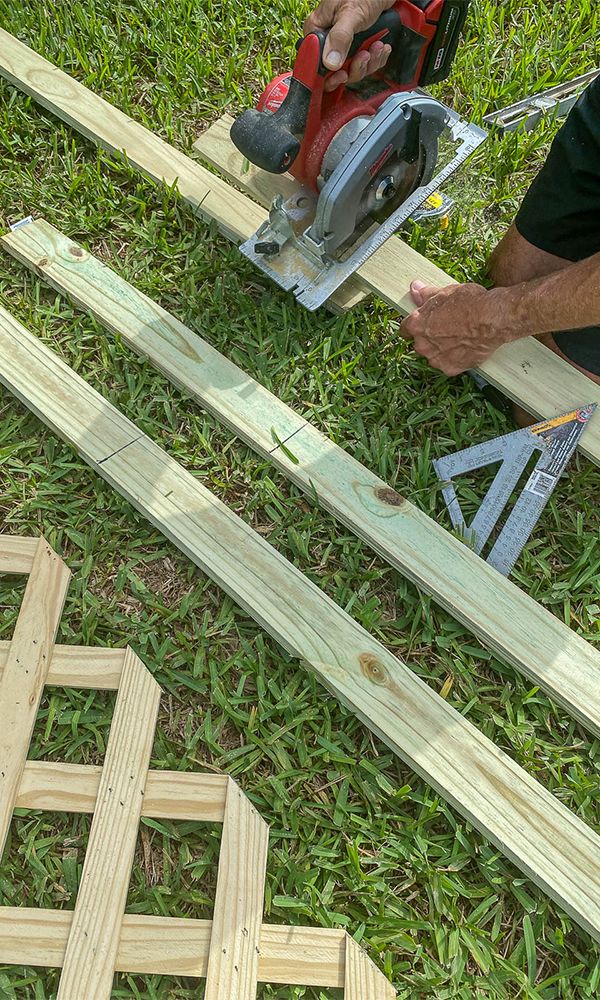
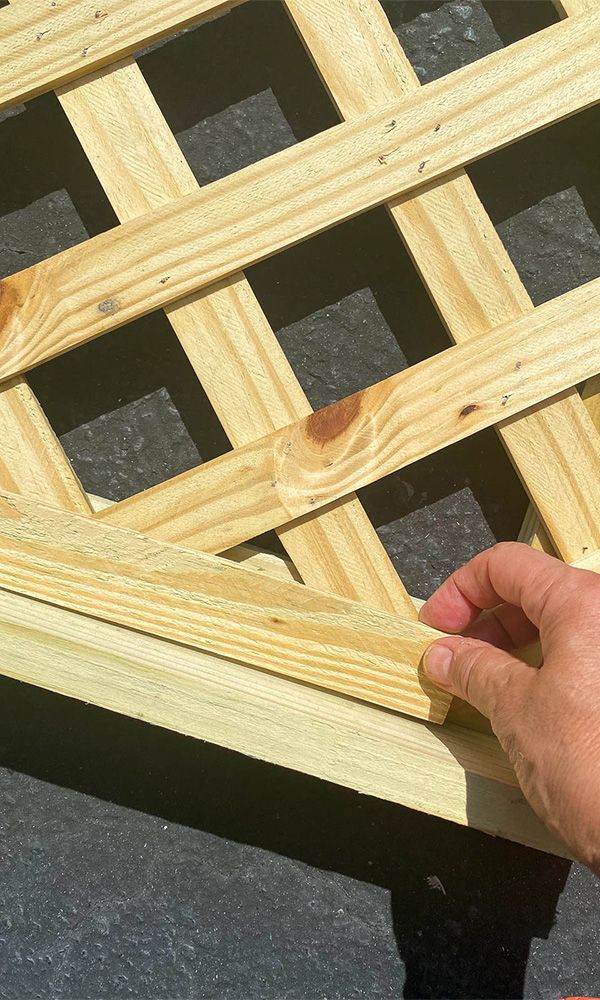
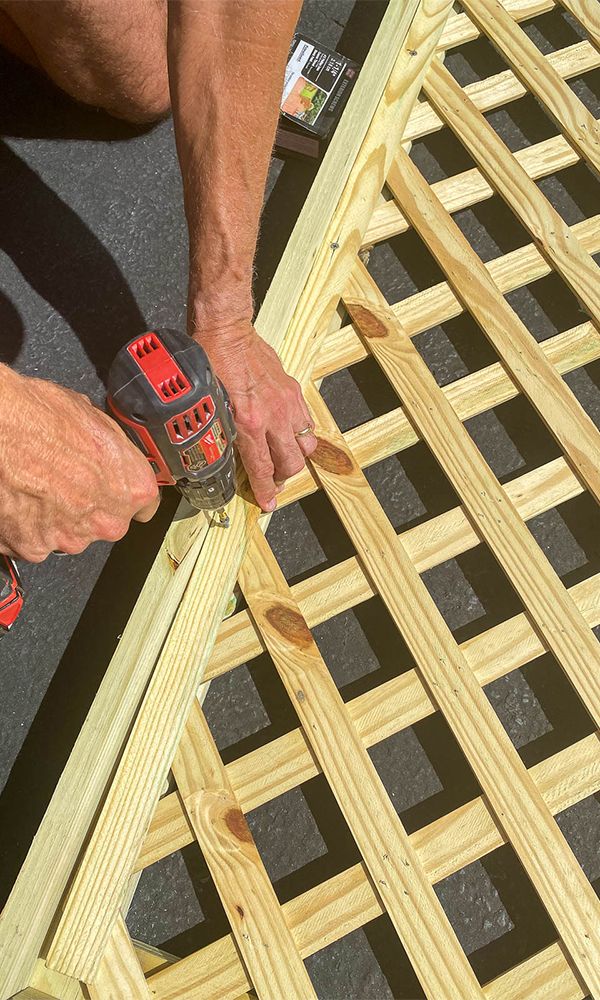
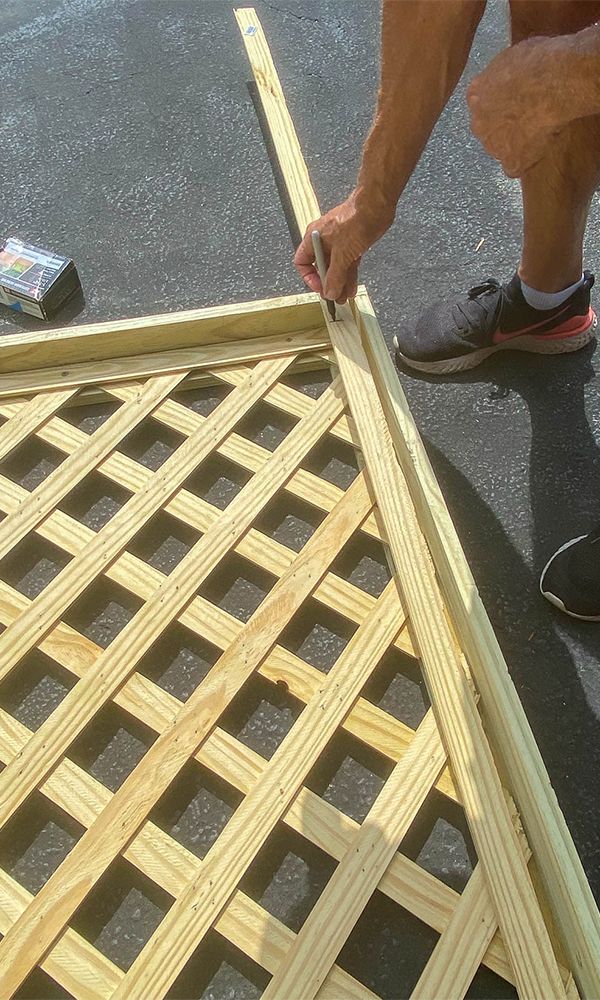
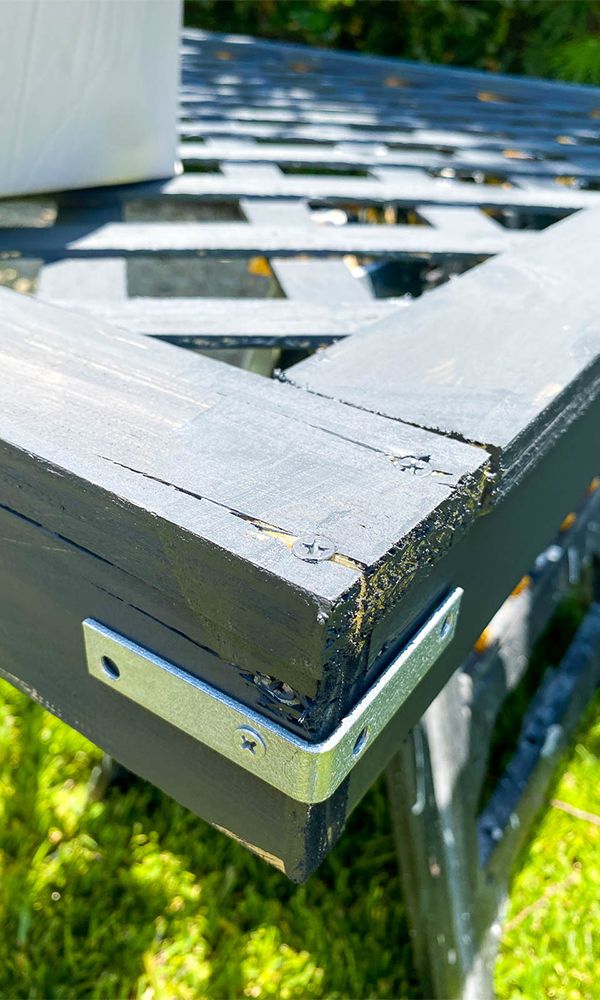
Take the three remaining 1 x 3 pieces and cut two of them to measure 72" long. Cut the third piece into two pieces at 38 1/2" long. Attach them to the back of the frame (as shown) using 1 5/8" screws.
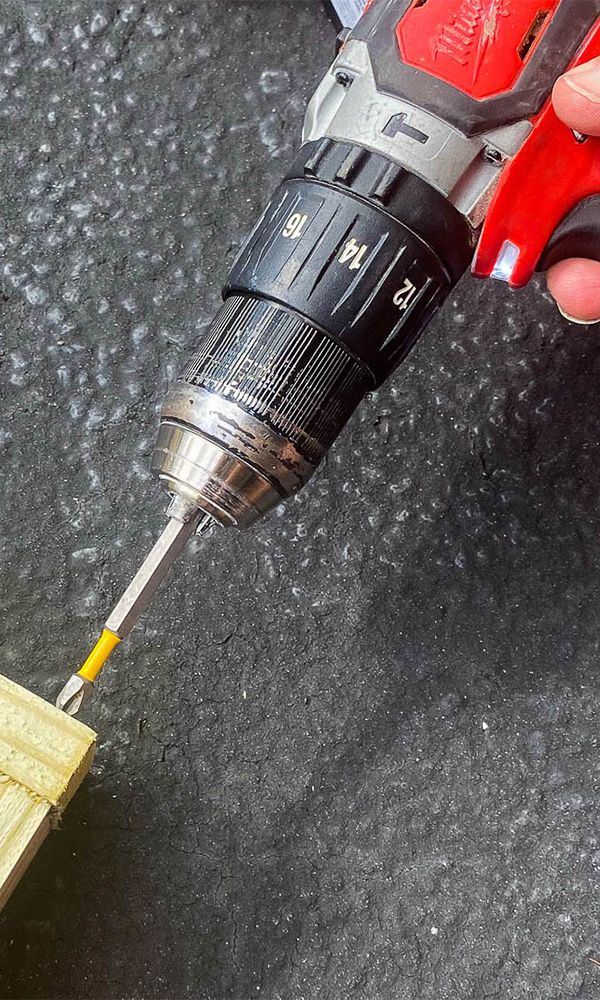
Attach
Attach Corner Braces
Paint (Optional)

Complete
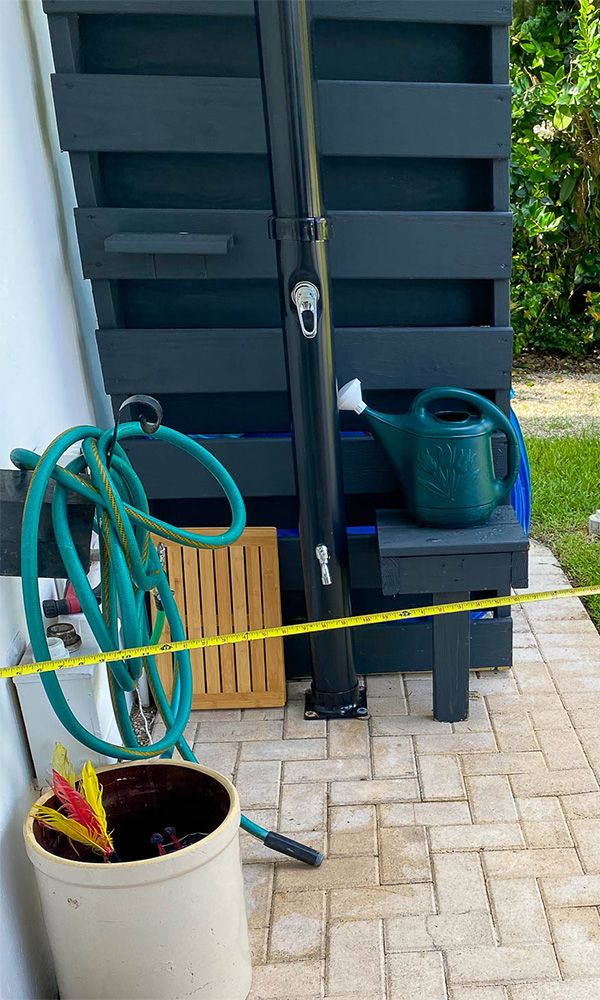
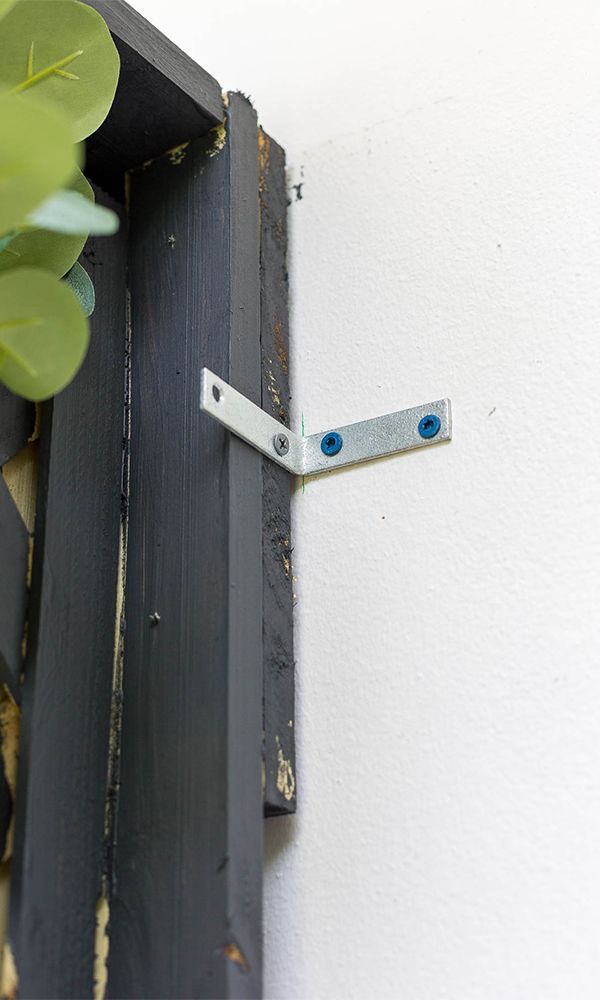
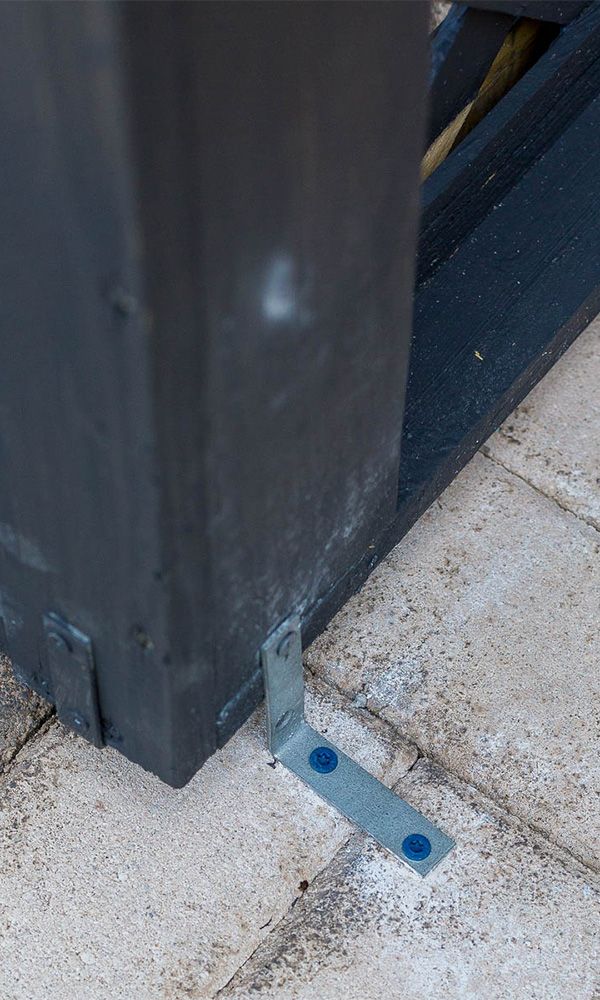
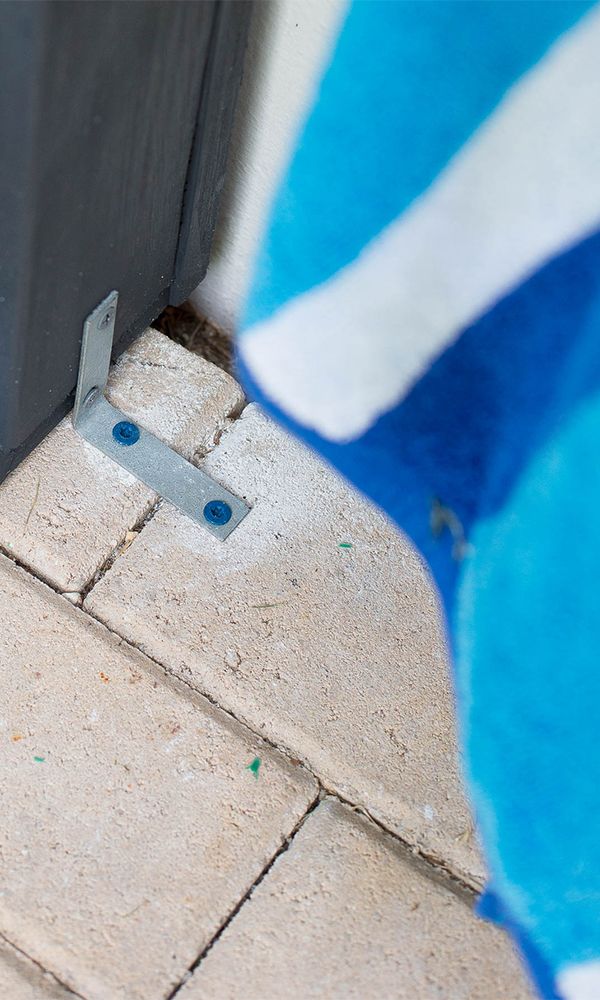
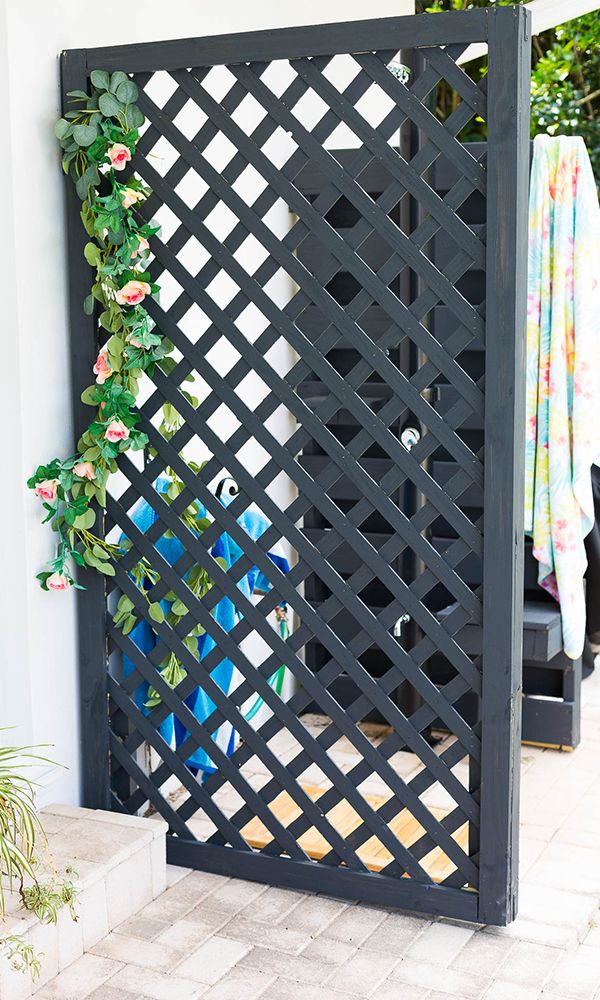
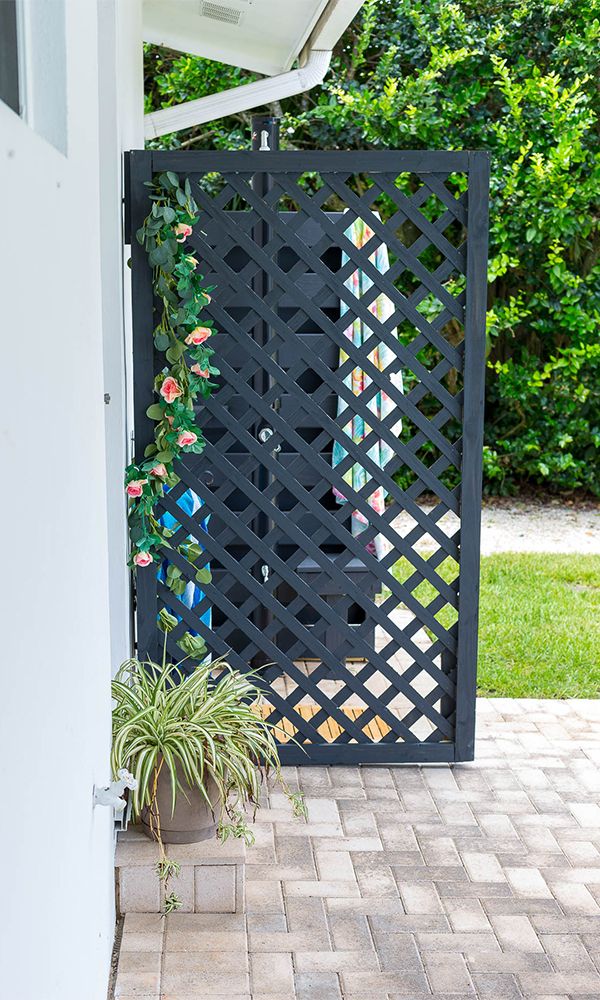
A freestanding lattice screen as this one will either need to have legs, a footing base or attach directly to the ground and/or wall. This lattice screen was attached directly to the wall and the concrete pavers.
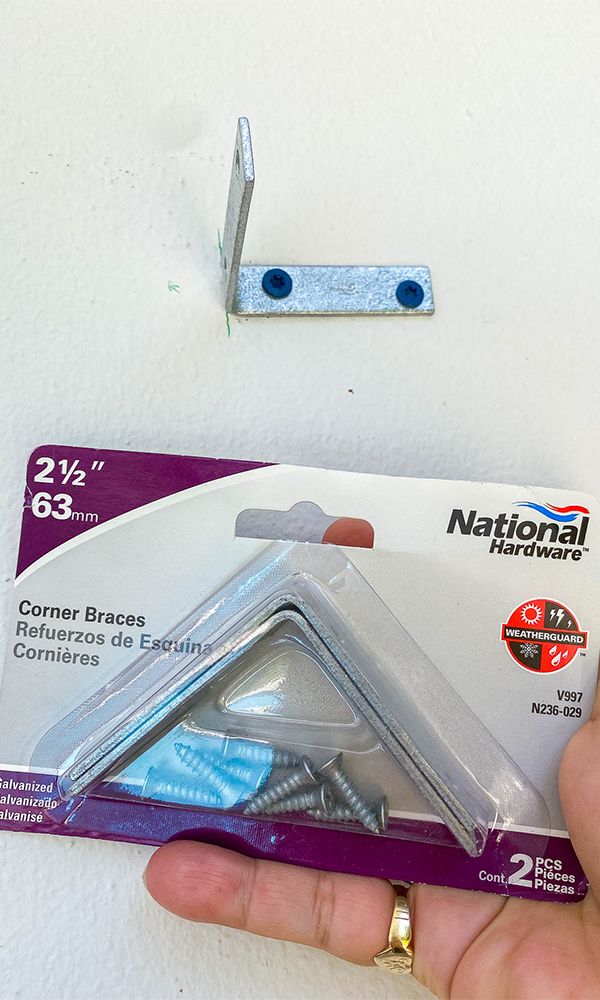
To secure the exterior wall, cut a spacer piece out of leftover wood and attach a National Hardware 2 1/2″ Corner Brace to it and also to the wall with concrete screws.
On the bottom of the lattice, the frame secures the lattice screen using a National Hardware 2 1/2″ Corner Brace on each side. Test the screen to ensure it’s secure and add more corner braces if needed.
There are a wide variety of uses for a lattice screen!
Hardware
- Related Product Categories:
- Metal Corner Braces & Brackets
- Reinforcement Hardware