
Upgrade Door Hinges
It was time to freshen our doors up and make them feel more modern. I was so ready to eliminate the 90’s brass hinges. This is such a fun and easy way to add some character to your door. With a little bit of time and patience, this is such a rewarding process.
-
Difficulty:Beginner
-
Team:1
-
Time:1 Hour
Tools
-
Drill Bit
-
Drill
-
Pencil
-
Safety Goggles
-
Screw Drivers
-
Screws


Remove the Door
The first step for me is taking down the old doors. A buddy right here really does come in handy! Having a set of sawhorses setup in the driveway ready to go, let's get these doors down! Using your screwdriver or drill take out each screw and remove the door.
Tip: Have your buddy hold the door while unscrewing the hinges, this will keep the door from falling on your foot or damaging your floor!

Unscrew
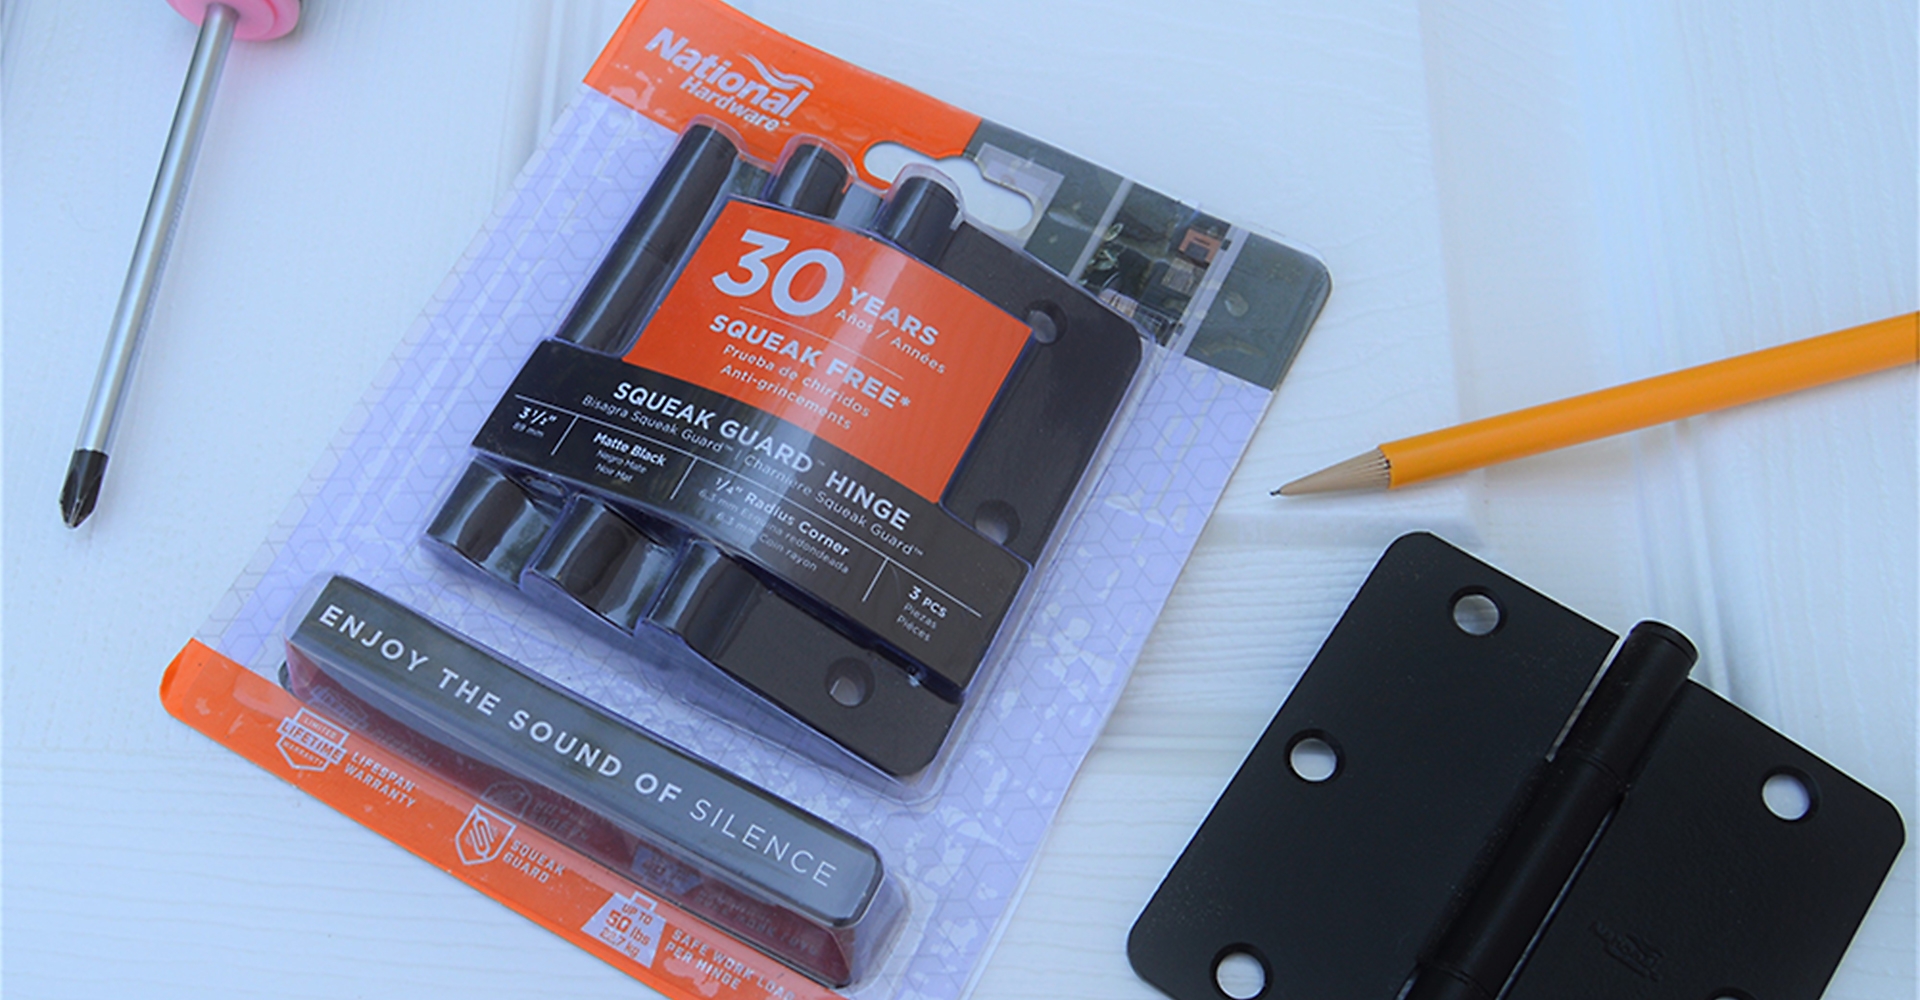
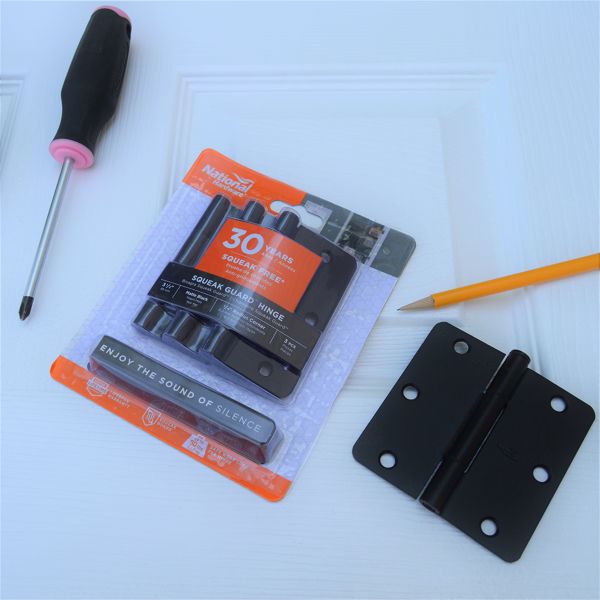
We have the door frame free of the hinges, now with the door on the sawhorse, lets unscrew the hinges from the door itself. You can discard all the old hardware, National Hardware gives you everything you need to install the new hardware!
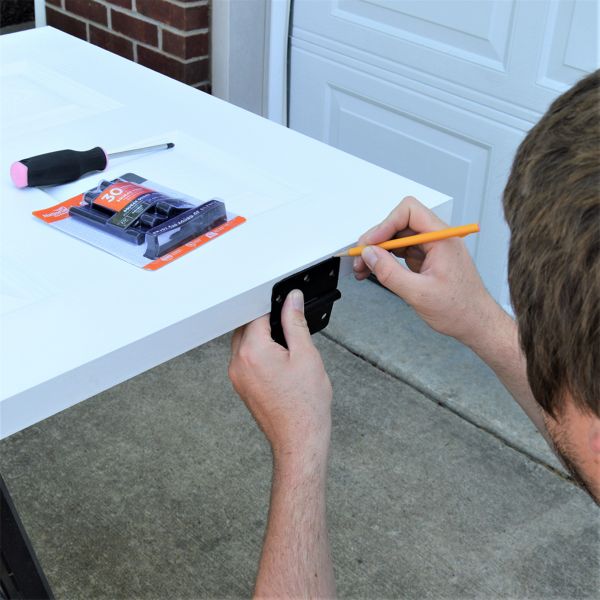
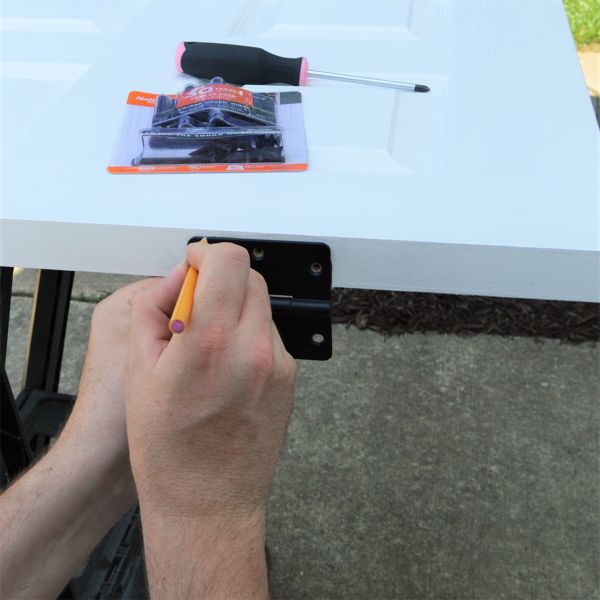
Trace
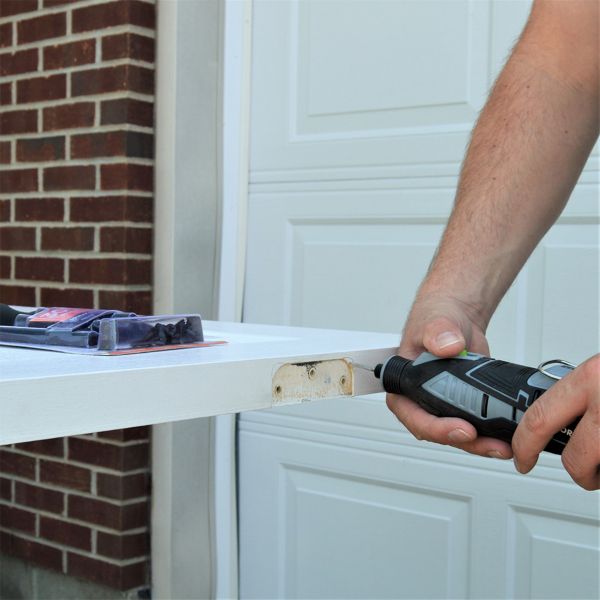
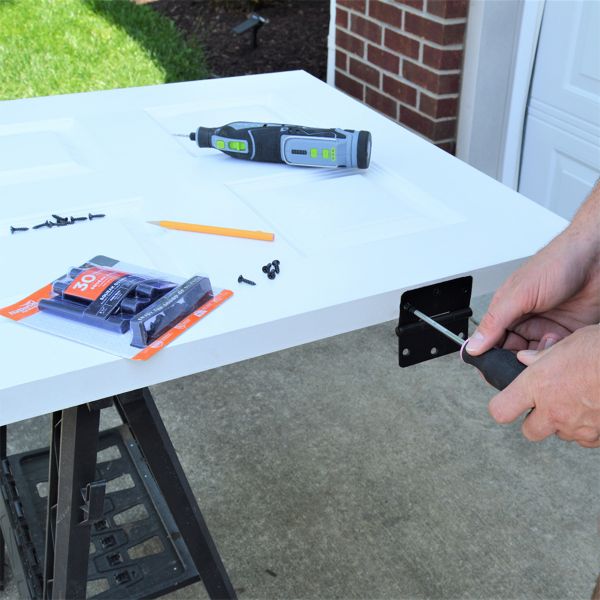
Remove Material
Now it is time to remove material on the door to allow for the new hinge to fit. Like I stated in the previous step you may be able to skip the next couple of steps. Two options that I have done in the past is using wood chisels or a dremel tool. Either one can accomplish this task extremely well. For this project I chose to use the dremel. Using my line as a guide, with my dremel on a medium speed I gently carve out material working to the line, not starting on it. I would occasionally stop to see if my hinge was fitting to make sure I am not eliminating too much material. If you will take your time on this step you will have a snug and perfect fitting hinge. Repeat this step for the other hinges on the door.
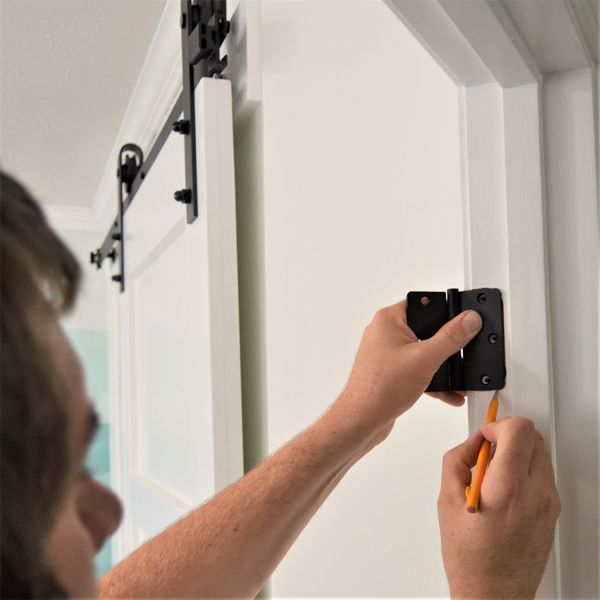
Line Up
Let's move back inside to prepare the door frame for the new hinges. Take the new hinge, line up the screw holes, and trace around it with a pencil. Remember you may not have to do this step if you are replacing the existing hinges with the same shape! That same patience you used on the door hinges will be just as important when you trim the frame. If you take your time here you will get a better product! Using a dremel or wood chisels trim the extra material to allow for the new hinge to work. I like using my dremel at medium speed and working up to the line. Stopping several times checking my progress with the new hinge.
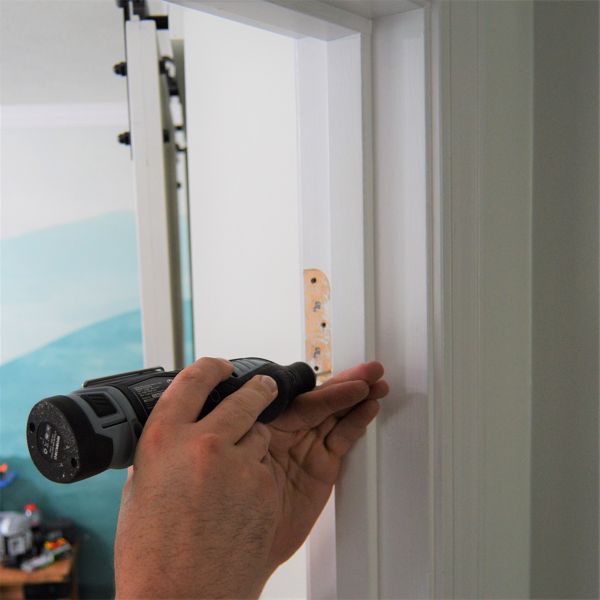
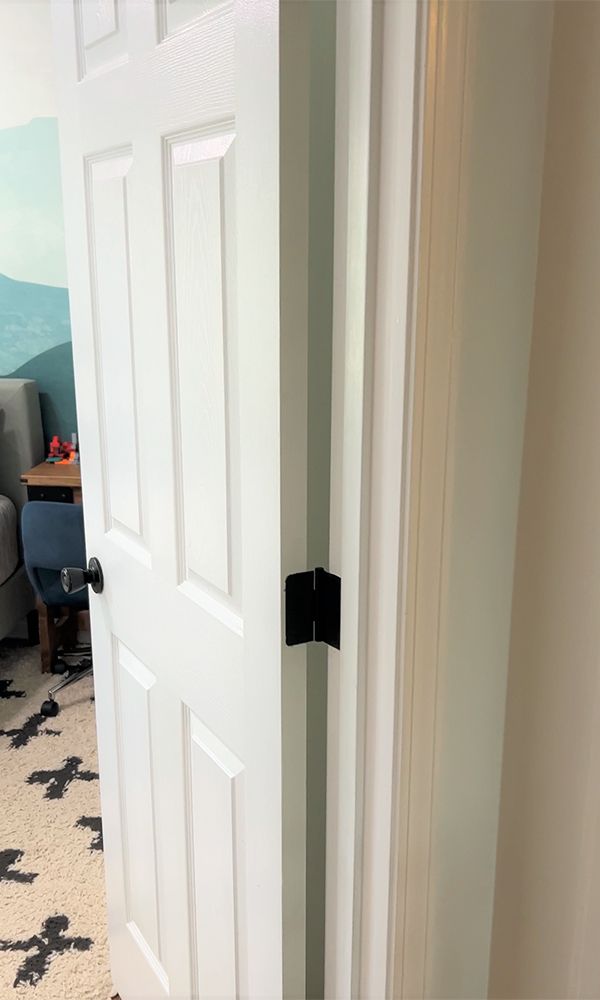
Complete

Hardware
- Related Product Categories:
- Door Hinges
- Hinges