
Hanging Wall Art
Deciding on what print or art piece to hang in your space can be a daunting task. The act of actually hanging your art pieces doesn't have to be though. Here are a few tips and directions for installing your favorite art piece using the National Hardware Leveling Hangers. Their design and ease of use will have you finding reasons to hang more art around your home or office. I'm sure of it!
-
Difficulty:Beginner
-
Team:1
-
Time:1 Hour
Tools
-
Drill Bit
-
Drill
-
Hammer
-
Level
-
Pencil
-
Safety Goggles
-
Tape Measure


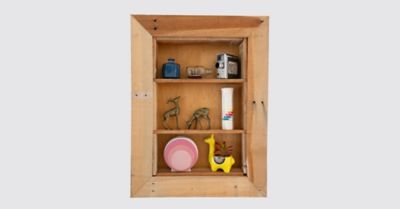
Deciding What to Hang
Attach the Leveling Hangers
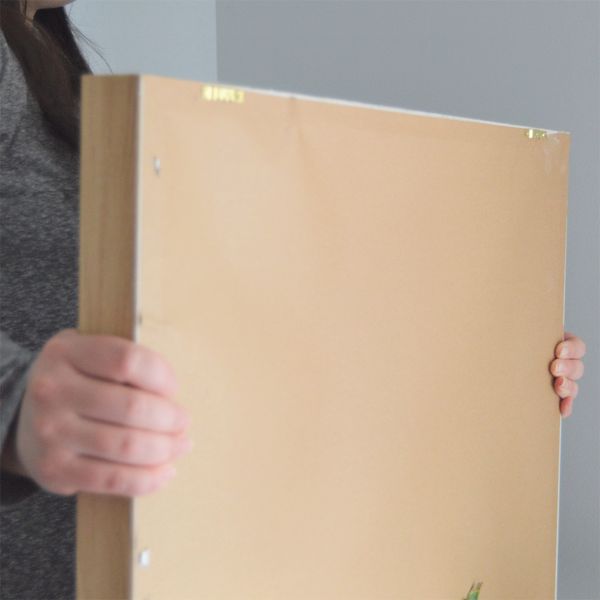
Once you have decided on the art you are going to hang, it is time to attach the leveling hangers! Gather your tools needed and let’s get started!
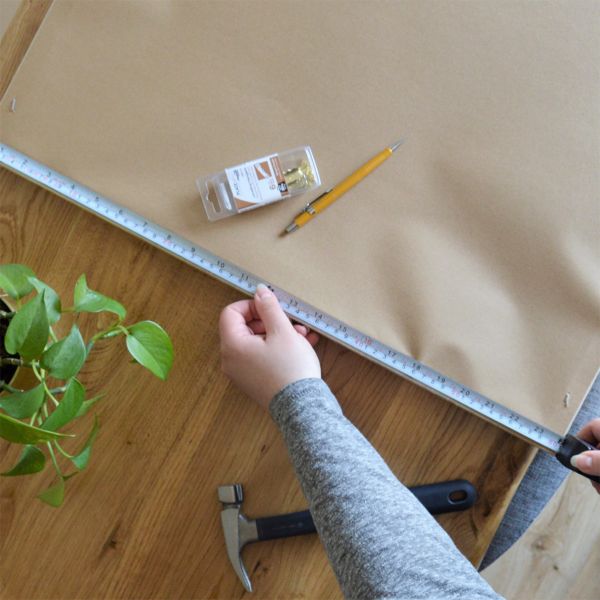
Using your measuring tape, measure the entire length of the edge of your art that the hangers will be attached to. If you are going to install one hanger, find the center of your frame to install your hanger there.
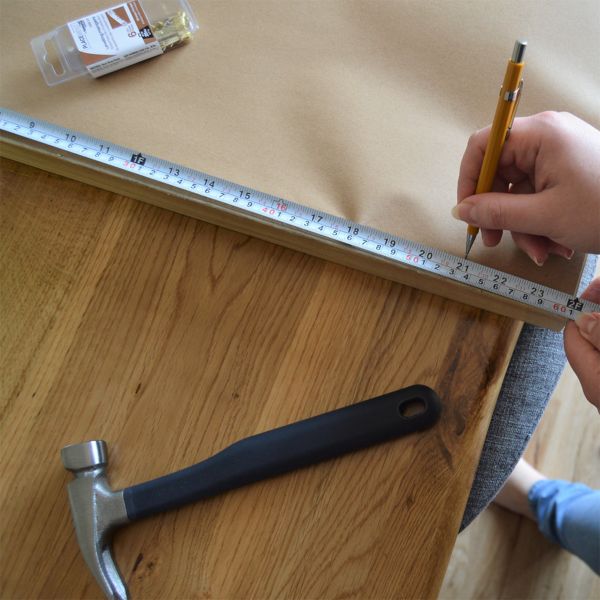
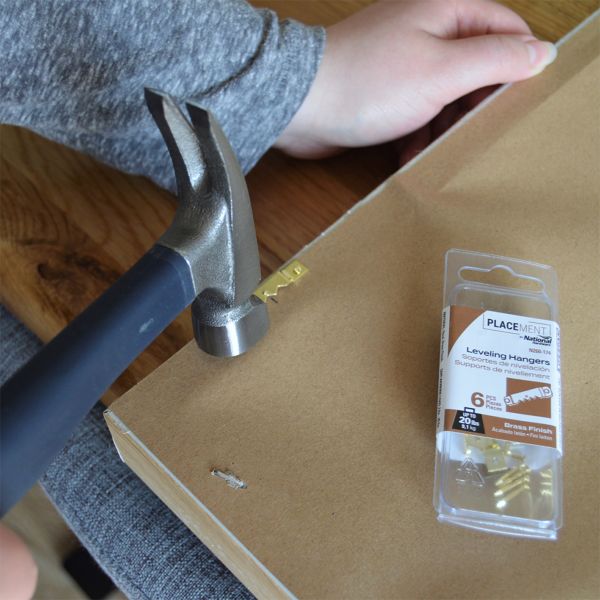
If you are using two hangers like I did, measure off each end the same amount and make a mark. This is where your hangers will need to be installed. I tried to keep the distance between my two hangers simple so I can transfer this dimension to my wall later. Your National Hardware Leveling Hangers box will include the nails needed to install the hangers. Using light taps with your hammer, install the hangers where you made your marks
I love using the National Hardware Leveling Hangers for hanging art and photos around the home. Whether you are hanging a family photo in your living room, a sentimental gallery wall with multiple pieces in your hall or some fun art in your office space or kids room, they make it super easy. National Hardware Leveling Hangers are made of steel for durability and the sawtooth designs makes it a breeze for fixing crooked pictures. This has definitely come in handy at times and takes the worry out of being totally perfect with the wall mounting.
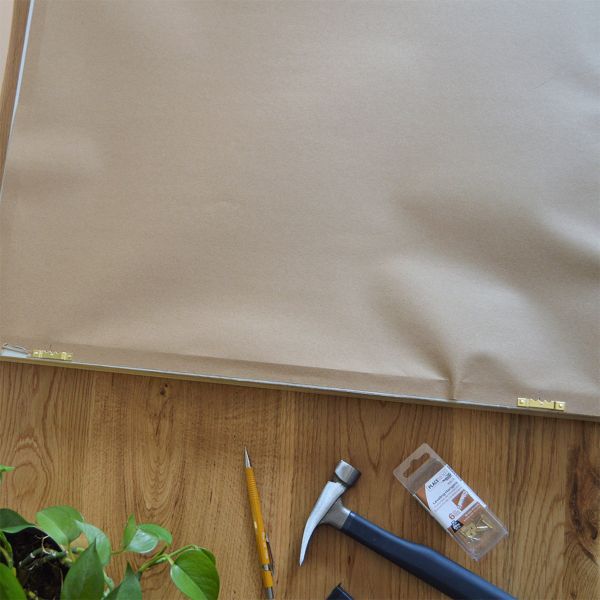
That’s it for this step! Now onto the wall installation!
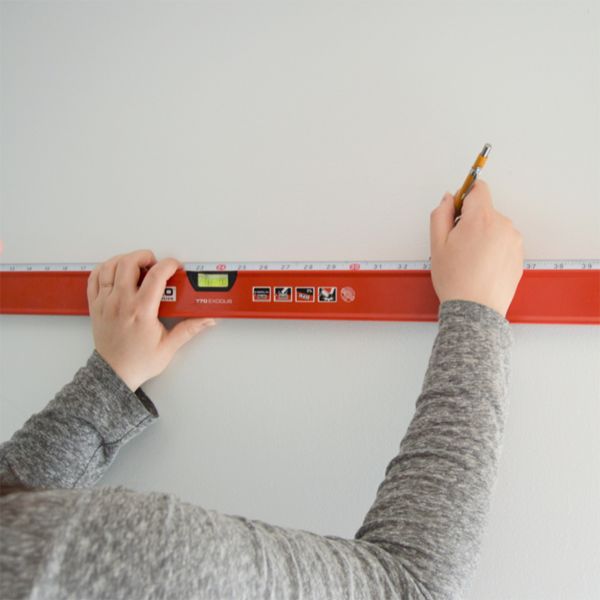
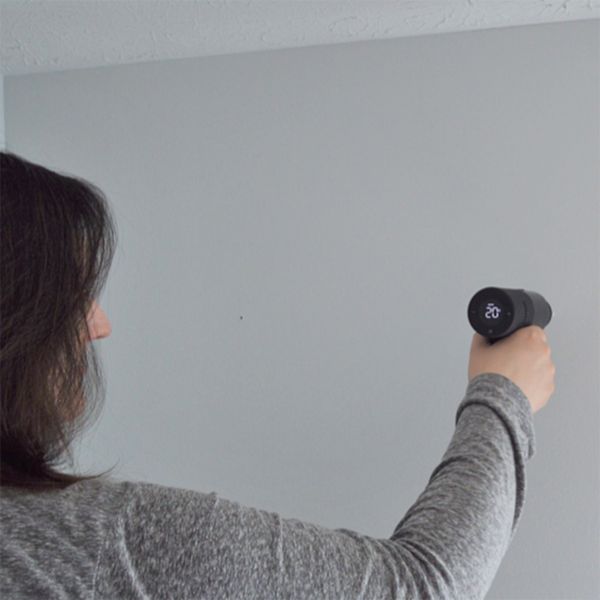
Prepping your Wall
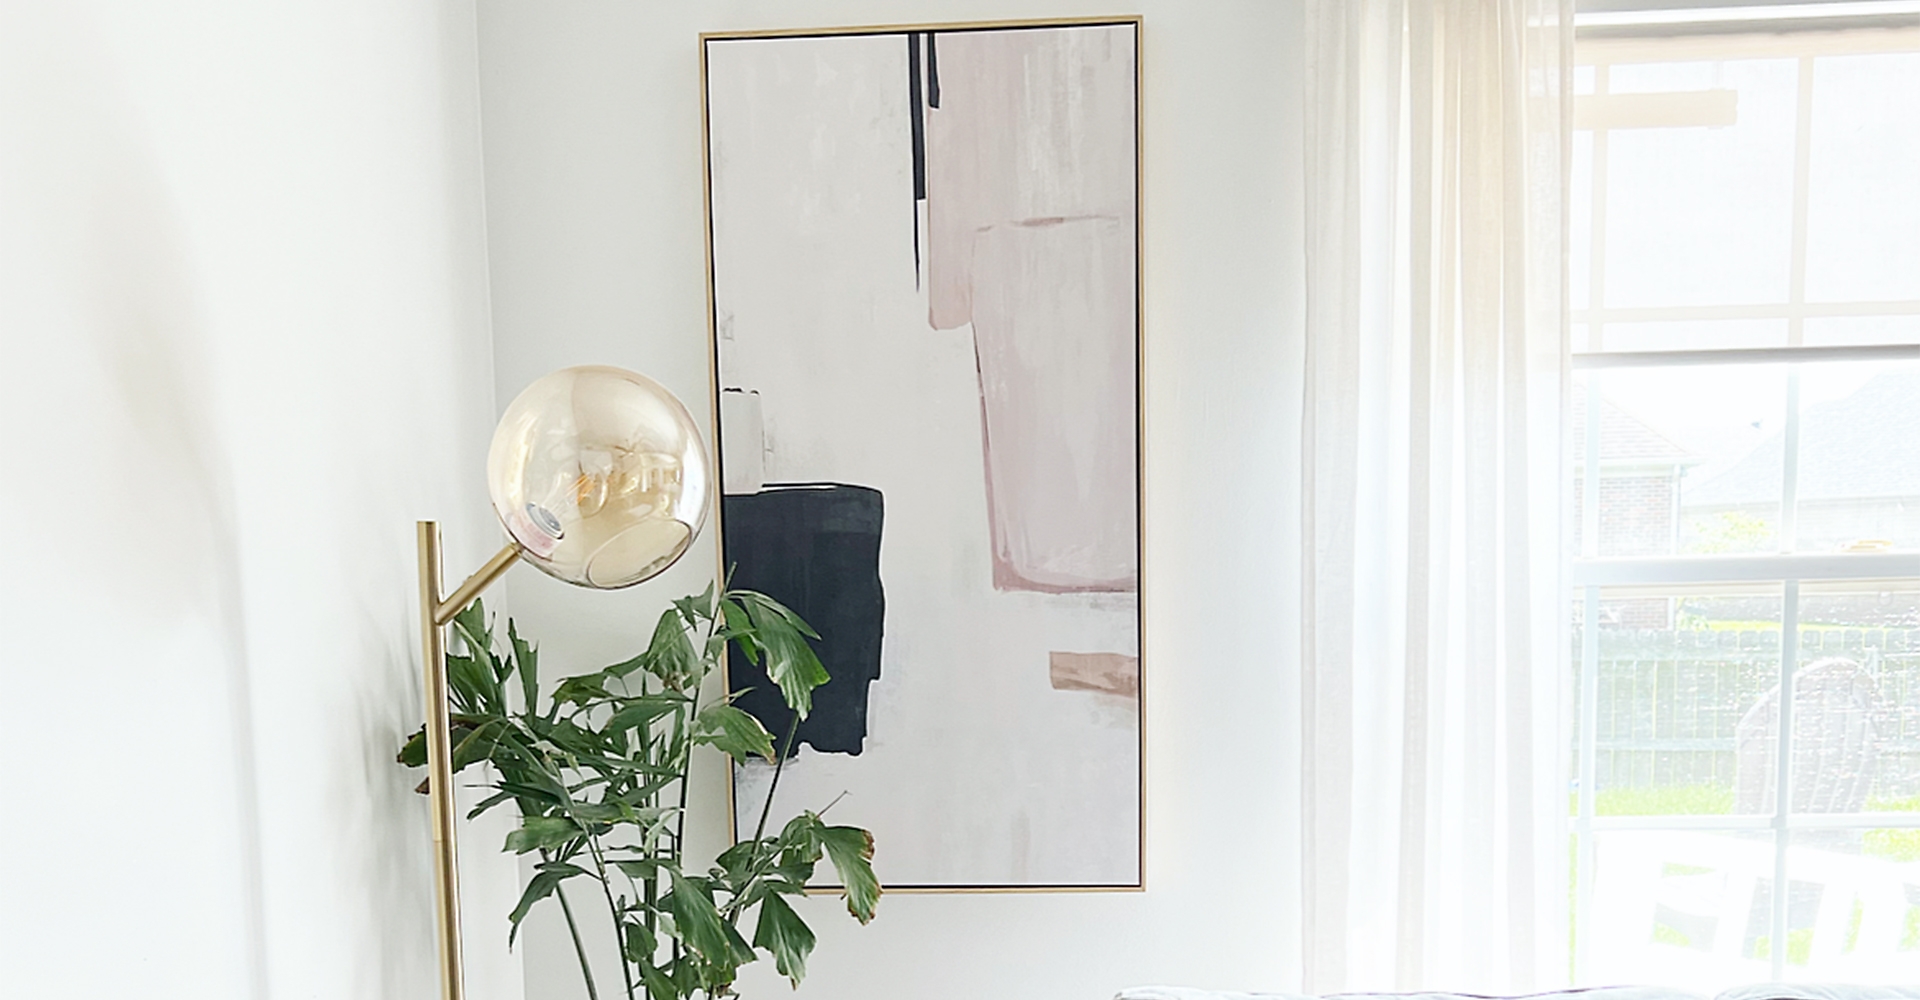
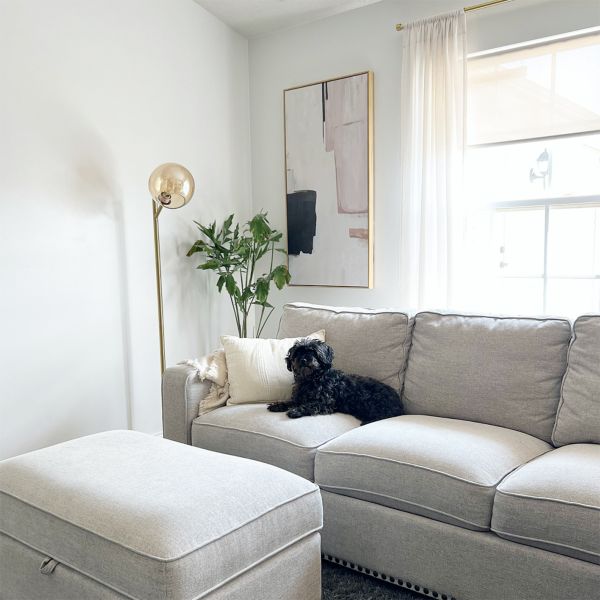
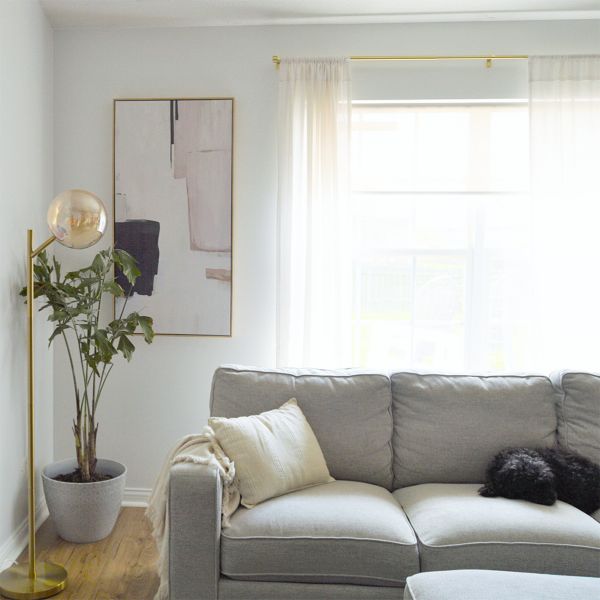
Hanging & Enjoying Your Piece
The final step is hanging your art on the wall anchors you mounted. Once you slide the National Hardware Leveling Hangers onto the screws, take a step back to review how your piece looks in the space. You are now done and can put any finishing touches to the space you like. It's amazing how simply adding some new art to your room or space can make it feel like new, inspiring or even bigger! Enjoy your new art! Be sure to check out the Leveling Hanger size options available now for your project with National Hardware!

Hardware
- Related Product Categories:
- Picture Hangers
- Picture Hanging Hardware